Fairlife chocolate milk Ninja Creami recipe is a smooth, rich, one-ingredient protein ice cream. Easy to make, creamy texture, and packed with real chocolate flavor.
If you’ve never made the Fairlife chocolate milk Ninja Creami recipe, you’re in for a treat today. This one’s simple, sweet, and surprisingly packed with protein.
Fairlife chocolate milk is not just any chocolate milk—it’s ultra-filtered, lower in sugar, high in protein, and super creamy.
What caught my eye about this recipe is that it’s just one main ingredient. Yep—1 ingredient ice cream! And still, it turns into a rich, chocolatey treat.
You can keep it basic or take it up a notch with a couple easy add-ins. I’ll show you both ways.
This is one of those no-fuss recipes you’ll want to try today.
How Does This Ninja Creami Chocolate Milk Taste?
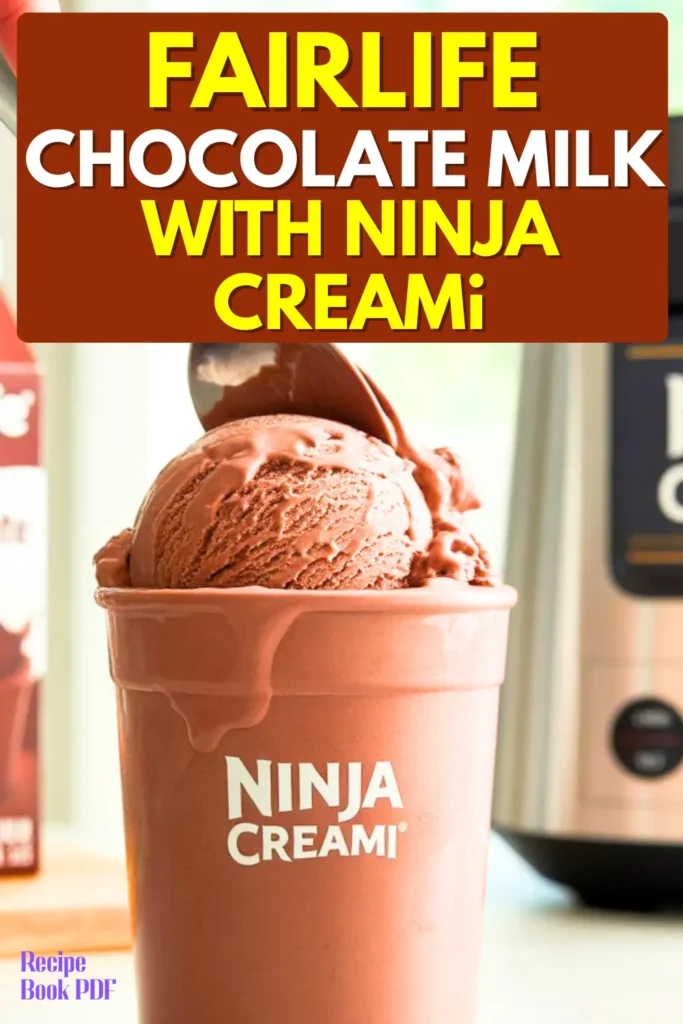
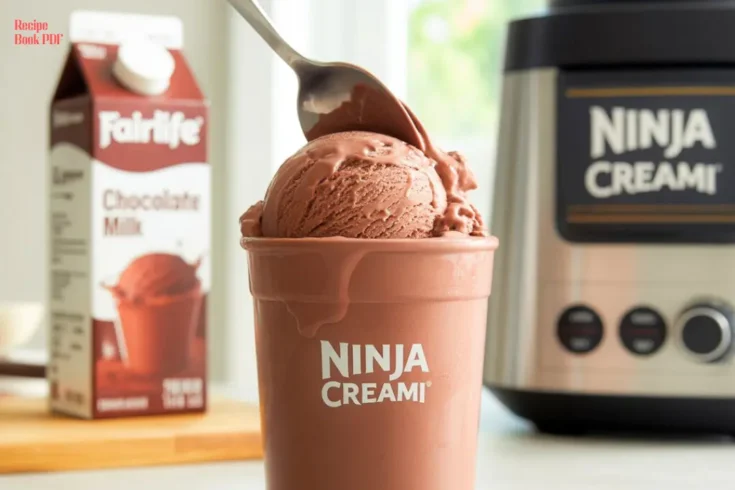
This is not your average homemade ice cream. When I first tried it, I was honestly surprised. Using Fairlife chocolate milk in the Ninja Creami gives it a rich, chocolaty flavor with a smooth finish. It’s not overly sweet, which I really like, and it tastes like something you’d get at an ice cream shop.
The basic version has a soft and light texture, and with just one more ingredient, you can make it taste even creamier.
Ingredients For Fairlife Chocolate Milk
Basic Version:
- 2 cups Fairlife Chocolate Milk (about 1 pint): Rich chocolate flavor, high protein, and low sugar — the perfect base for a creamy, guilt-free ice cream.
Creamier Version – Option 1 (with xanthan gum):
- 2 cups Fairlife Chocolate Milk: Provides a smooth, chocolatey base that freezes well and balances sweetness with protein.
- ¼ teaspoon xanthan gum: Adds body and stability, preventing icy texture while keeping the ice cream soft and scoopable.
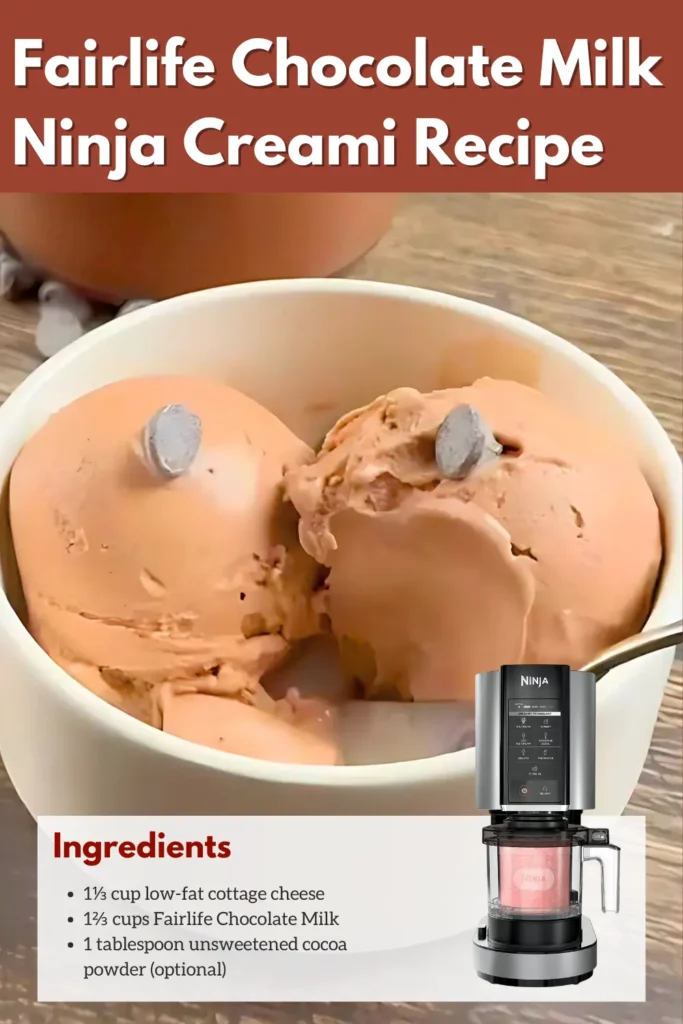
Creamier Version – Option 2 (with cottage cheese):
- 1⅓ cup low-fat cottage cheese: Boosts protein and creaminess while keeping calories lighter than heavy cream.
- 1⅔ cups Fairlife Chocolate Milk: Blends with cottage cheese for a smooth chocolate base that tastes rich without extra sugar.
- 1 tablespoon unsweetened cocoa powder (optional): Deepens chocolate flavor and balances sweetness for a more intense, classic chocolate taste.
Optional for All Versions:
- 2–3 tablespoons milk (for second spin): Softens texture if too firm after freezing, ensuring a smoother, creamier consistency with just one extra spin.
How To Make Fairlife Chocolate Milk Ninja Creami
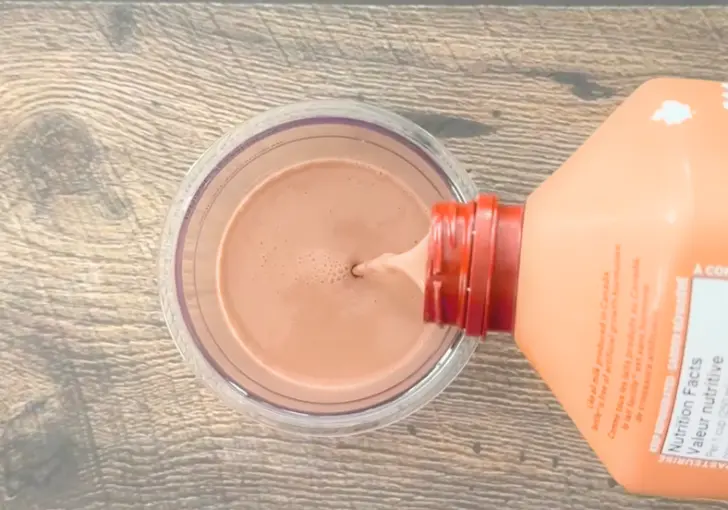
Step 1: Fill the Pint
Pour the chocolate milk (or blended version if you’re using xanthan gum or cottage cheese) into the Ninja Creami pint container. Fill to the max fill line.
Step 2: Freeze
Put the lid on and freeze the pint flat for at least 8 hours. I usually do this the night before. If your freezer is strong, 8 hours is enough, but you can leave it overnight too.
Step 3: First Spin
Take the frozen pint out of the freezer. If it’s very hard, let it sit on the counter for 10–15 minutes. Then place it into your Ninja Creami and run it on “Light Ice Cream.”

Step 4: Mix-In (Optional but Helpful)
After the first spin, it might look powdery or icy. That’s okay. Add 2–3 tablespoons of milk (any kind). I usually use almond milk or even more chocolate milk if I have it. You can also run a butter knife around the sides to loosen any frozen bits.
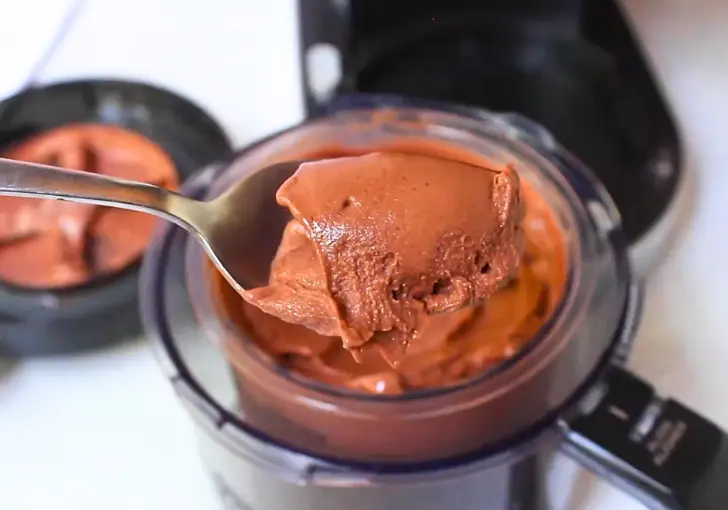
Step 5: Second Spin
Place the container back into the Ninja Creami and spin it again using the “Light Ice Cream” setting. Now it should look smooth and creamy.
Step 6: Serve and Enjoy
Scoop it out and serve it right away. The whole pint is just under 300 calories and packed with protein. It’s a treat you can feel good about.
Special Chef Notes
- Freeze your pint flat so it spins evenly.
- Let it sit out for 10 minutes before spinning for better texture.
- Use xanthan gum for smoother results.
- Cottage cheese adds creaminess and more protein.
- Cocoa powder helps if using cottage cheese to bring back chocolate taste.
- Any milk works for the respin step.
Creative Variations and Extras
This recipe is simple, but you can still change it up based on what you have or what you like.
- Add a Scoop of Protein Powder: Mix in 1 tablespoon of chocolate protein powder before freezing.
- Make It Mocha: Add a teaspoon of instant coffee or espresso powder.
- Add Chocolate Chips or Shavings: Stir in mini chocolate chips after the second spin.
- Add Peanut Butter: A teaspoon of peanut butter before freezing adds flavor and richness.
- Make It Vegan: Use a plant-based chocolate milk (Fairlife is not vegan).
- Extra Sweet: Add 1-2 teaspoons of maple syrup or honey before freezing if you like sweeter ice cream.
- Top With Crushed Nuts or Granola: Sprinkle a little on top for crunch.
FAQs
1. Can I use regular chocolate milk instead of Fairlife?
Yes, you can use regular chocolate milk, but Fairlife has more protein and less sugar. Regular milk may also make the ice cream icier and less creamy.
2. Why is my ice cream crumbly after the first spin?
That’s normal. It needs a second spin and a splash of milk to smooth it out. Letting it sit for 10 minutes before spinning helps too.
3. Can I use a different stabilizer instead of xanthan gum?
Yes, you can use a tablespoon of pudding mix, guar gum, or even a commercial ice cream stabilizer blend. Each gives a creamier texture.
4. Is cottage cheese flavor noticeable?
No, the cottage cheese blends in completely. If you’re worried, add a little cocoa powder to cover any mild flavor.
5. Can I double the recipe?
No, the Ninja Creami pints are designed for single batches. Make two separate pints if you want more.
6. How long can I store the frozen pint before spinning?
You can freeze the pint for up to a week or more before spinning. Just make sure it’s sealed well.
7. Can I add fruit to this recipe?
You can, but it might change the texture. If adding fruit, blend it smooth with the milk before freezing.
8. What if I don’t have xanthan gum or cottage cheese?
Just use plain Fairlife chocolate milk. It still turns out tasty, just not as creamy.
9. Can I make this with vanilla Fairlife milk?
Yes, you can use any Fairlife milk flavor. Just know that vanilla will taste different and less chocolatey.
Fairlife Chocolate Milk Ninja Creami Ice Cream Recipe
Creamy and rich Fairlife chocolate milk Ninja Creami recipe made with just one main ingredient. High in protein, low in sugar, and tastes just like real chocolate ice cream. Quick, healthy, and perfect for your Ninja Creami machine.
Ingredients
Basic Version:
- 2 cups Fairlife Chocolate Milk (about 1 pint)
Creamier Version – Option 1 (with xanthan gum):
- 2 cups Fairlife Chocolate Milk
- ¼ teaspoon xanthan gum
Creamier Version – Option 2 (with cottage cheese):
- 1⅓ cup low-fat cottage cheese
- 1⅔ cups Fairlife Chocolate Milk
- 1 tablespoon unsweetened cocoa powder (optional)
Optional for All Versions:
- 2–3 tablespoons milk (for second spin)
Instructions
- Pour the chocolate milk (or blended version if you're using xanthan gum or cottage cheese) into the Ninja Creami pint container. Fill to the max fill line.
- Freeze flat for 8–24 hours until solid.
- Remove from freezer, let sit 10–15 minutes if too hard. Spin on Light Ice Cream mode.
- Add 2–3 tbsp milk. Scrape sides with a butter knife if needed.
- Spin again on Light Ice Cream mode until smooth and creamy.
- Scoop and enjoy immediately. Store leftovers flat in freezer.
Nutrition Information:
Serving Size:
About 1 cup (half a pint)Amount Per Serving: Calories: 270Total Fat: 2.5gCarbohydrates: 18gSugar: 12gProtein: 25g
Nutrition may vary depending on ingredients used and portion size. Always double-check labels and brands for the most accurate info.
I hope you give this Fairlife chocolate milk Ninja Creami recipe a try soon. It’s so easy to make, full of flavor, and really hits the spot when you want something cold and creamy without the guilt.
If you do try it, I’d love to hear what you think. Share your experience in the comments and don’t forget to follow us on Pinterest for more simple and healthy recipes just like this one!